
Selecting Machine-Use Sandpaper | How to Choose the Right Type for Wood, Metal, Plastic, and Fiberglass?
In machining and surface finishing, the correct selection of sandpaper type, grit size, and grinding process directly impacts workpiece quality and production efficiency. Below, the DMS editorial team provides selection recommendations for four common materials—wood, metal, plastic, and fiberglass—to help you better understand machine-use sandpaper.
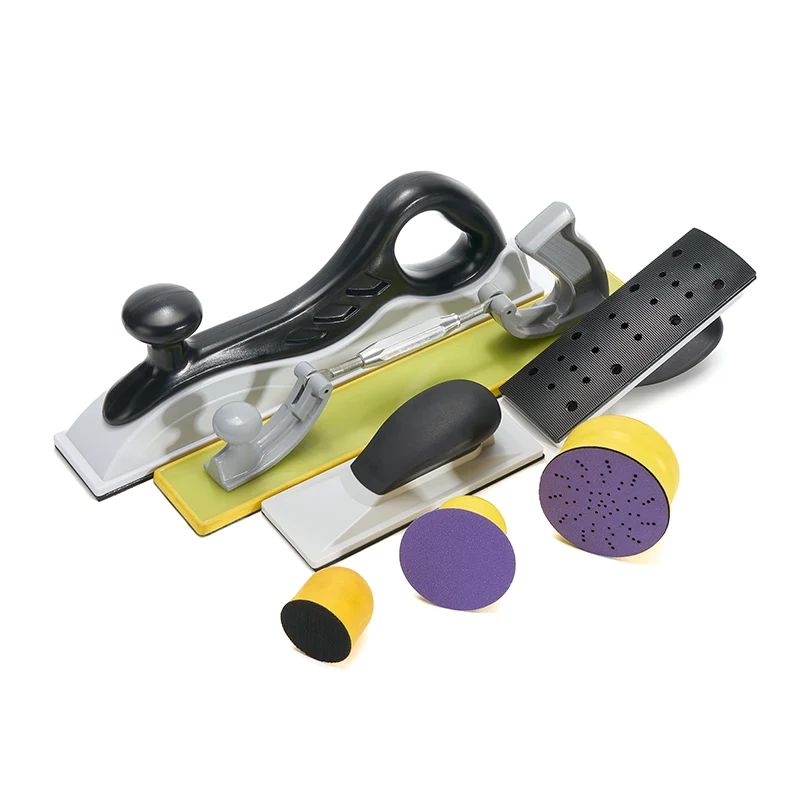
Machine-Use Sandpaper Selection Guide & Comprehensive Comparison Chart
|
Material Type |
Recommended Sandpaper Type |
Coarse Grinding / Deburring Grit |
Medium / Fine Grinding Grit |
Ultra-fine / Polishing Grit |
Key Operation Notes |
|
Wood |
Paper-backed sandpaper |
40 grit, 60 grit |
80, 100, 120, 150, 180, 220 grit |
Not recommended to exceed 400 grit (reduces coating adhesion) |
Sand with the grain use sequentially typically finish at 220 grit for painting readiness |
|
Metal |
Cloth-backed or wet/dry sandpaper |
80 grit and below (for removing burrs and weld slag) |
80, 100, 120, 150 grit (coarse grinding) 180, 240, 320, 400 grit (fine grinding) |
800 grit and above (use with polishing compound and wool pad) |
Wet grinding recommended (with water or lubricant) for cooling and anti-clogging; ceramic abrasives optional for hard metals |
|
Plastic |
Fine paper-backed or waterproof sandpaper |
220, 320 grit (initial sanding of parting lines and flash) |
400, 600, 800 grit (detailed sanding) |
1000, 1500, 2000 grit (wet sanding for high gloss restoration) |
Strictly control pressure and speed to avoid overheating/melting wet sanding strongly recommended use polishing compound on clear plastics |
|
Fiberglass |
Cloth-backed or mesh sanding cloth |
150, 220 grit (only for severe defect repair, use with extreme caution) |
400, 600, 800, 1000 grit (fine grinding of gel coat) |
1200, 1500, 2000 grit (preparation before polishing) |
Do not use grit below 400 directly always wet sand or use dust extraction reduce pressure on edges |
General Grinding Principles
Regardless of the material being processed, there are several general rules to follow when using machine-use sandpaper.
1. Grind sequentially; do not skip grit sizes.
Skipping intermediate grits will leave scratches from the previous step, which are difficult to remove with finer sandpaper later on. It is best to limit the increase between adjacent grits to no more than half a grade—for example, progressing step by step from 120-grit to 180-grit, then to 240-grit.
2. Replace the sandpaper when it becomes dull.
When grinding efficiency drops significantly or the surface begins to overheat, it indicates that the sandpaper has become dull or clogged; continuing to use it will only damage the workpiece.
3. Ensure the sandpaper configuration matches the equipment.
Angle grinders, pneumatic sanders, and random-orbit sanders each have different requirements for the backing, hole size, and shape of the sandpaper. It is recommended to consult the equipment manual before selecting the appropriate sandpaper.
4. Apply moderate pressure and let the abrasive grains do the cutting.
Excessive pressure not only causes the workpiece to overheat but also accelerates the shedding of abrasive grains, resulting in more harm than good.
In summary, choosing the right machine-use sandpaper improves surface quality and reduces consumable costs. The principles above apply to most standard sanding scenarios. For special materials or process requirements, please contact DMS Support to obtain a customized solution.
Related News
- A Must-Read Checklist for Purchasing Professionals: How to Avoid Sandpaper Manufacturers with Unstable Sandpaper Production?
- Sandpaper Procurement: Which Sandpaper Factory Is Reliable for Purchasing Sandpaper Supplies for Auto Repair and Carpentry?
- Pneumatic Sandpaper Procurement Recommendations for Auto Repair Shops: Avoid Three Cost Pitfalls
- Long Sandpaper Purchasing Guide: Four Metrics That Define Truly Efficient Sanding Rates
- Say Goodbye to Workpiece Burn Marks: An Analysis of the Process Advantages of Self-Sharpening Ceramic Abrasive Sandpaper Sets
- Do ceramic abrasive PSA sanding discs lose their grit quickly?
Leave me a message


