Ultra-Fine Sandpaper in Auto Refinishing: Tips for Edge Safety and Consistent Finish
When sanding clear coat, many people focus on the large, flat surfaces, often treating the edges and corners as an afterthought. But in reality, areas such as the body lines, bumper edges, and door creases naturally have a thinner clear coat layer, and pressure from ultra-fine sandpaper tends to concentrate there—which is why sanding through the clear coat often occurs during these seemingly insignificant moments. Precisely for this reason, experienced technicians know that the quality of edge and corner finishing is a key indicator of craftsmanship.

To avoid sanding through the clear coat, the key isn’t switching to finer sandpaper, but rather adjusting the way you apply pressure and the tools you use.
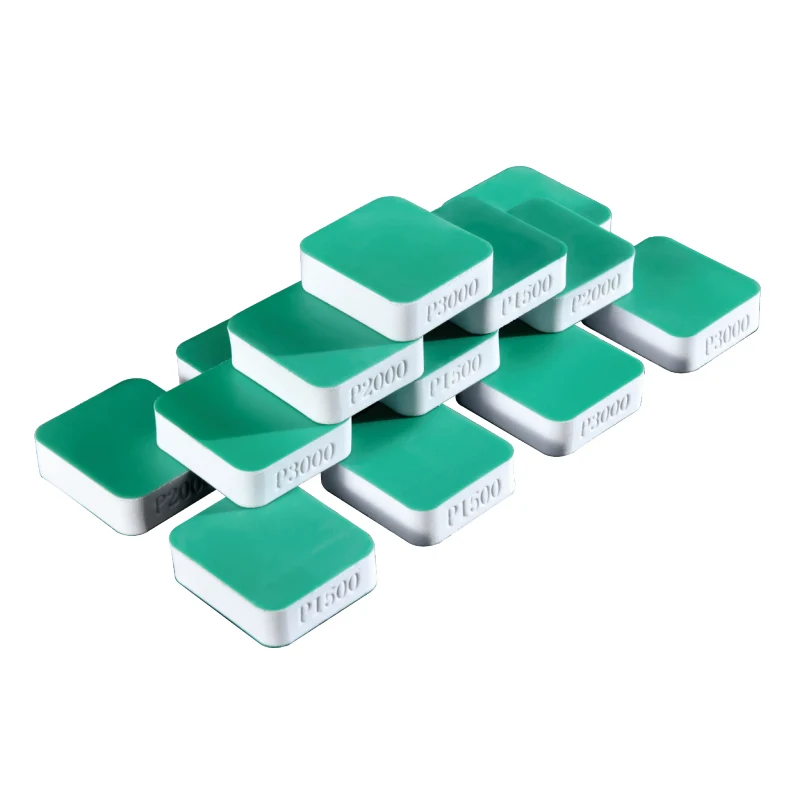
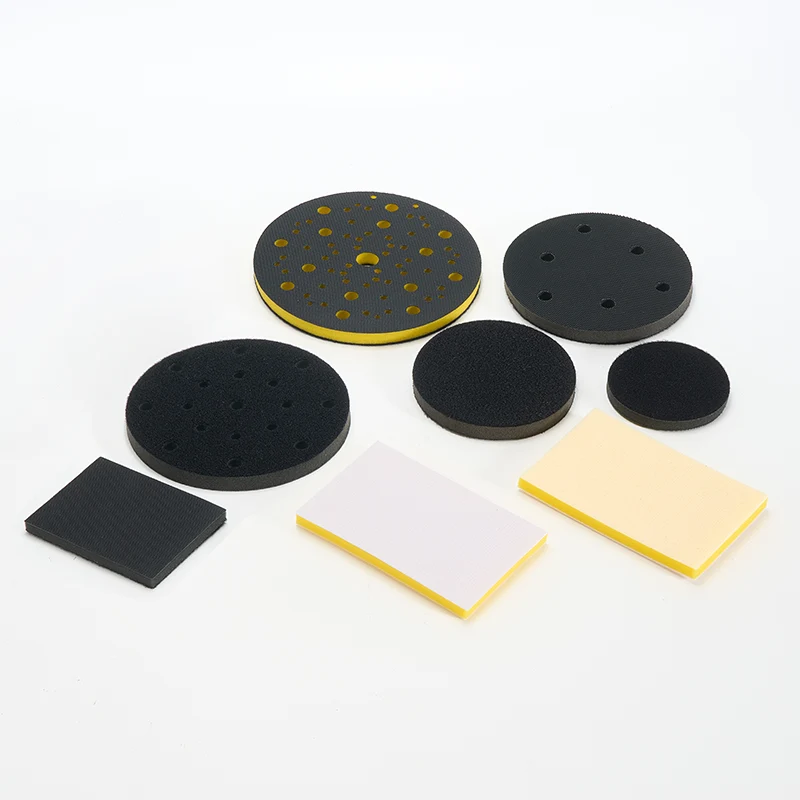
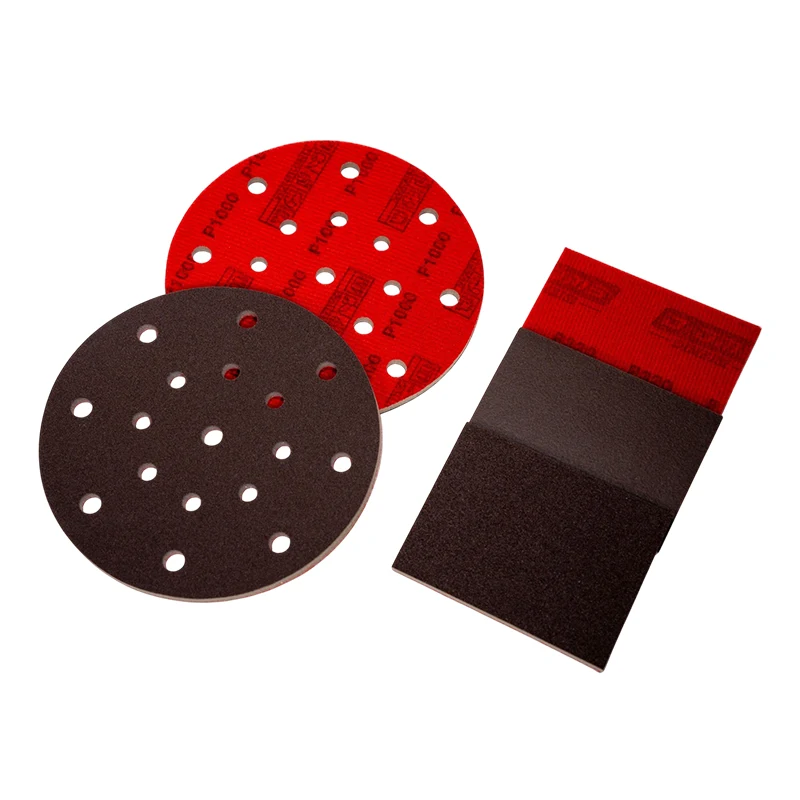
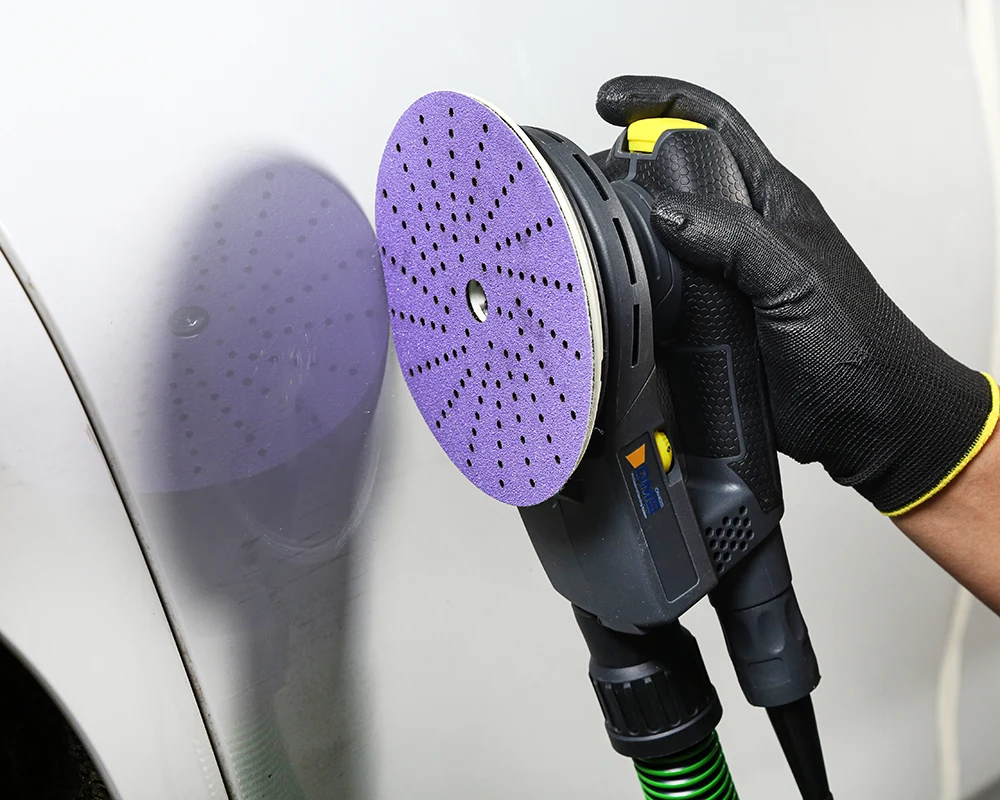
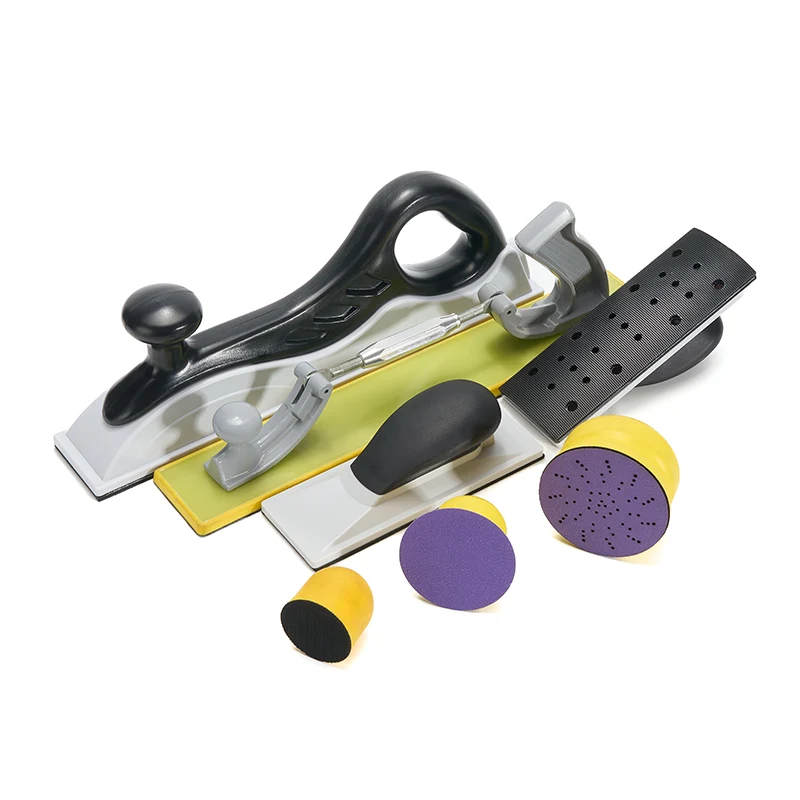
First, avoid holding ultra-fine sandpaper directly between your fingertips when sanding edges and corners. The localized pressure from your fingers concentrates the sandpaper’s cutting force on a few points, which can penetrate the clear coat and expose the base coat in a short amount of time. The correct approach is to use a soft sanding pad or a flexible hand rest to keep the sandpaper’s contact surface flat and flexible. This allows pressure to be evenly distributed across the entire contact area through the pad. When sanding edges and corners, the flat surface of the pad should rest against the main surface, with the edge side simply gliding naturally along the contour—rather than deliberately folding the sandpaper into a sharp angle to sand the edge.
Second, mastering the direction of movement from the flat surface to the edge is equally important. Specifically, when sanding near the edge, it is recommended to move the ultra-fine sandpaper from the inside out, gliding from the flat surface toward the edge, rather than pulling it back and forth along the edge. With each outward sliding motion, release pressure the moment you reach the edge—much like an airplane lightly touching down on the runway—making only brief contact. This approach removes orange peel and dust spots near the edges without causing the sandpaper to repeatedly cut into the same spot.
Additionally, the choice of grit size requires careful consideration. Clear coat sanding typically begins with P1200 or P1500, but for corner areas, it is recommended to start one grade higher than the main surface—for example, if P1500 is used on the main surface, begin by testing the corners with P2000. If the cutting efficiency proves insufficient, you can then step back to a coarser grit, but you must continuously monitor the condition of the paint surface. At the same time, when wet-sanding with ultra-fine sandpaper, it is crucial to use an ample amount of water or a specialized sanding solution. Water not only washes away sanding debris to prevent clogging but also reduces the cutting force, thereby allowing time to react to the feedback from your hands.
Furthermore, develop the habit of checking as you sand. After each pass, wipe away the slurry with a clean cloth and visually inspect the edges and corners in well-lit conditions. As soon as you notice the paint surface beginning to thin, the underlying color coat becoming faintly visible, or the color lightening, stop sanding that area. In addition to visual inspection, lightly touching the paint surface with your finger is another way to assess thickness; use the sensation on your fingertip to determine the remaining thickness of the clear coat.
Overall, using ultra-fine sandpaper to sand the edges of the clear coat requires precise control of pressure. By mastering the key techniques of using a sanding block for support, controlling the direction of movement, and progressively increasing the grit size—combined with the habit of frequently checking your work during the process—you can maintain efficient sanding while keeping the risk of sanding through to a minimum. As you become more proficient, you’ll gradually build confidence in handling edges and corners. We hope this DMS guide helps you know how to address any issues that may arise.
Related News
- How to Tell When Your Water-resistant Sandpaper Has Failed in Wet Sanding?
- How to Quickly Check the Bond Strength and Resilience of a Sanding Sponge for Cars?
- Beyond Samples: How to Confirm Production Consistency from Your Pneumatic Sandpaper Supplier
- Automotive Sandpaper Manufacturer Recommendation | Dry & Wet Sanding, Round & Square Sheets, Direct Source Factory
- A Must-Read Checklist for Purchasing Professionals: How to Avoid Sandpaper Manufacturers with Unstable Sandpaper Production?
- Sandpaper Procurement: Which Sandpaper Factory Is Reliable for Purchasing Sandpaper Supplies for Auto Repair and Carpentry?
Leave me a message