Why Sanding Pad Inspection Matters When Replacing Finishing Sandpaper
In bodywork and paint finishing applications, finishing sandpaper is commonly used for primer leveling and fine sanding of the paint surface, where a high level of surface flatness is required. When replacing the sandpaper, many technicians focus only on the sandpaper itself and overlook the condition of the sanding pad. Minor imperfections on the pad's surface can leave marks on the workpiece, causing fine scratches and uneven spots that compromise the finishing results. The following inspection steps can be easily performed while replacing the finishing sandpaper.
I. Is the sanding pad surface flat?
Place a straightedge against the surface of the sanding pad to check for deformation, bulges, or warped edges. Finishing sandpaper has a low removal rate and is designed for precise shaping. If the pad surface is uneven, pressure will be distributed unevenly, and the finished paint surface is prone to wavy marks. If deformation is detected, it is recommended to replace the sanding pad promptly.
II. How worn is the hook-and-loop surface?
The hook-and-loop layer on the surface of the sanding pad is key to securing the sandpaper. Inspect the hook-and-loop surface. If many hooks are worn down or missing, the finishing sandpaper will not adhere securely. This can cause the sandpaper to shift or wobble during sanding, resulting in irregular scratches. Minor dust buildup can be brushed off, but if the hook-and-loop surface is noticeably worn, the sanding pad should be replaced.
III. Are the dust collection holes unobstructed?
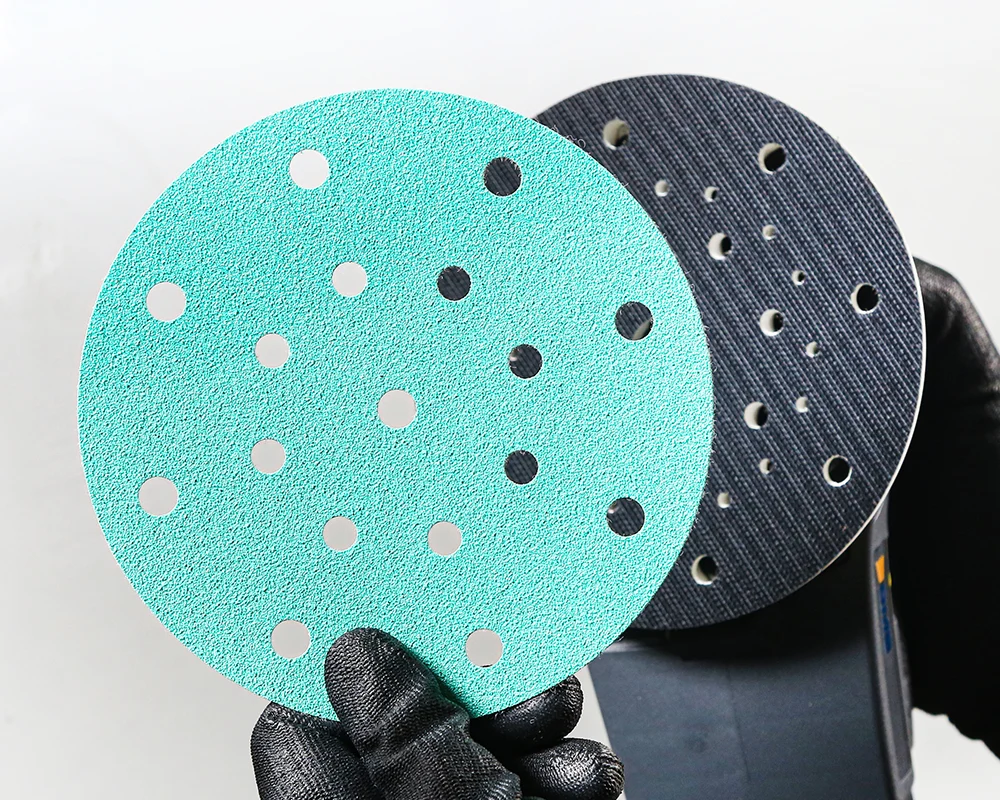
Verify that the holes in the sanding disc align with those in the finishing sandpaper, and clean out any accumulated dust and putty debris from the holes. Misaligned or clogged holes will reduce dust collection efficiency. Dust accumulating between the sandpaper and the disc can not only clog the sandpaper but also trap hard particles that may scratch the workpiece surface.
IV. Is the shock-absorbing layer damaged or cracked?
Inspect the shock-absorbing layer on the bottom of the sanding disc for cracks, missing pieces, or signs of aging and hardening. This layer cushions sanding pressure and helps ensure uniform grinding. If damaged, its cushioning effect diminishes, making the pad feel stiffer. This makes it difficult to control sanding pressure and increases the risk of localized over-sanding.
V. Are the base connection points secure?
Inspect the threaded or snap-fit connections between the sanding disc and the pneumatic sander to ensure there is no looseness or stripped threads. An unstable connection can cause the sanding disc to vibrate at high speeds. During the fine-sanding stage, such vibration directly produces spiral scratches, affecting the quality of the paint finish. After installation, run the sander briefly without load to confirm there is no abnormal wobbling before beginning sanding operations.
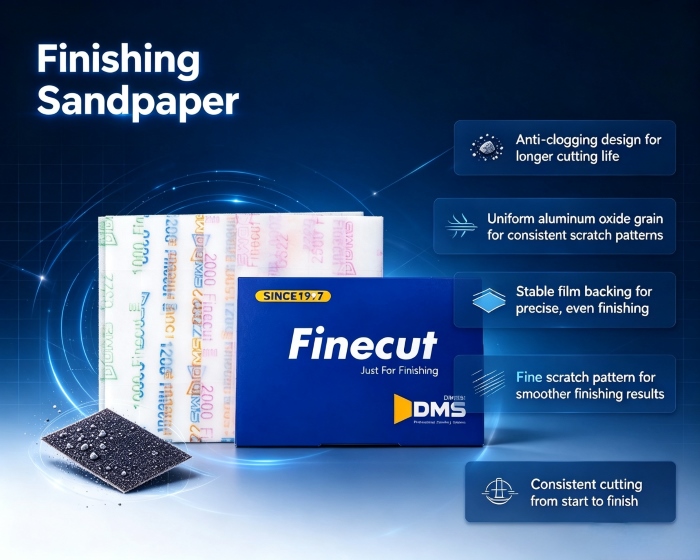
The steps outlined above are not complicated, but consistently verifying each one every time you replace the finishing sandpaper can significantly reduce fine-grinding defects and rework. Dongsheng Sandpaper prioritizes the stability of the back-velour adhesion and the uniformity of dust-exhaust holes in its finishing sandpaper products. When used in conjunction with a well-maintained sanding pad, these products can help deliver the surface finish expected from fine grinding.
Related News
- What Leads to Peeling of the Waterproof Coating on Wet Sandpaper? Key Usage Tips
- Ceramic Sandpaper vs Silicon Carbide Sandpaper: How to Pick for Your Grinding Job
- Why Anti Static Fine Sandpaper Matters in Electronics Manufacturing
- Is Porous Dust-Collecting Automotive Sandpaper Worth the Switch?
- Wrong Collision Repair Sandpaper Costs You Time. Here's How to Choose Right
- When Ceramic Flap Discs for Metal Fabrication Stop Self-Sharpening: What to Watch For
Leave me a message